

Getting Started
After successfully installing the add-on, you will need to make a few basic configuration settings before you can send your first email to Confluence.
To follow this guide, you will need administrative rights. If you are not a Confluence administrator, you will need to ask a Confluence admin from your organization to perform the steps for you.
Step 1 – Go to the Configuration Page
Navigate to the Confluence Welcome Page or any other page in Confluence. In the menu bar at the top of your screen, click on Apps. Then select Manage apps from the drop-down menu.
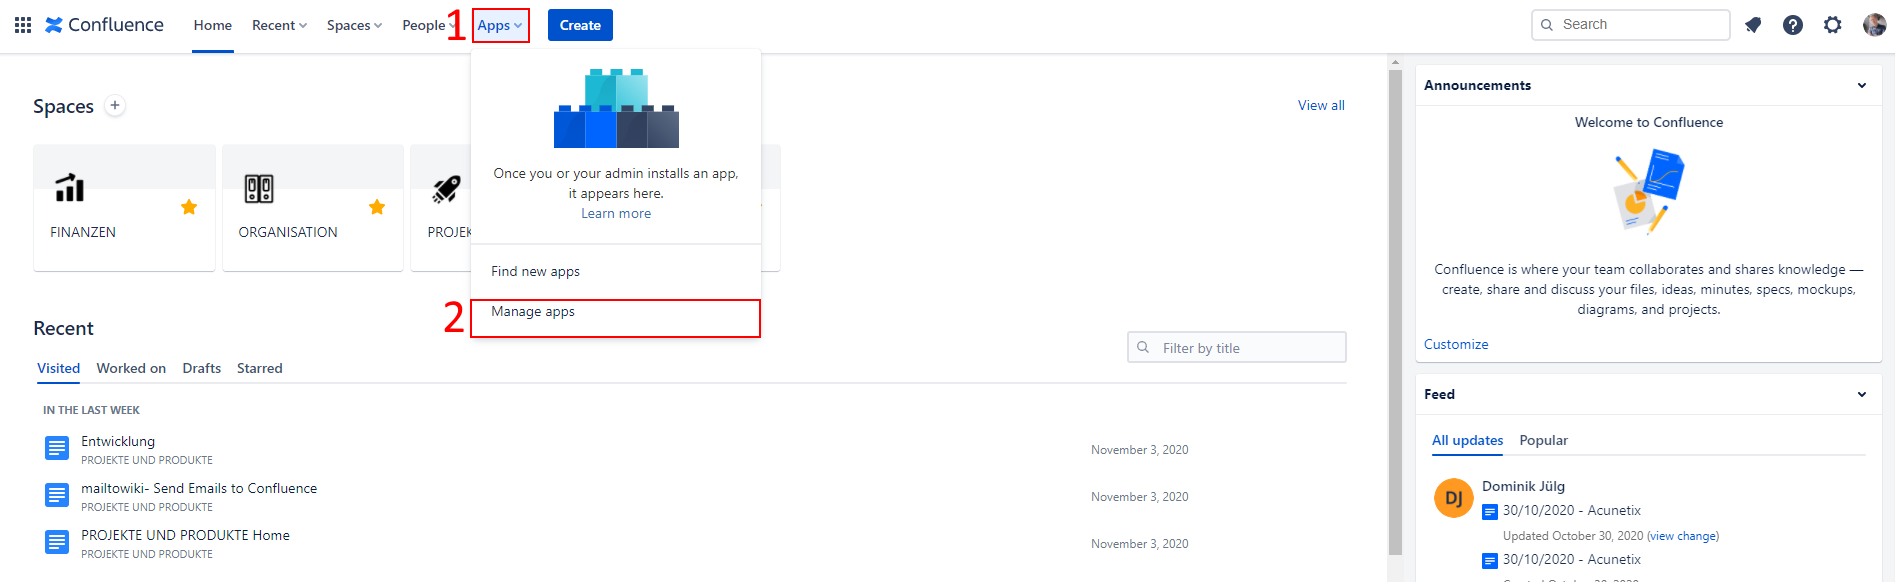
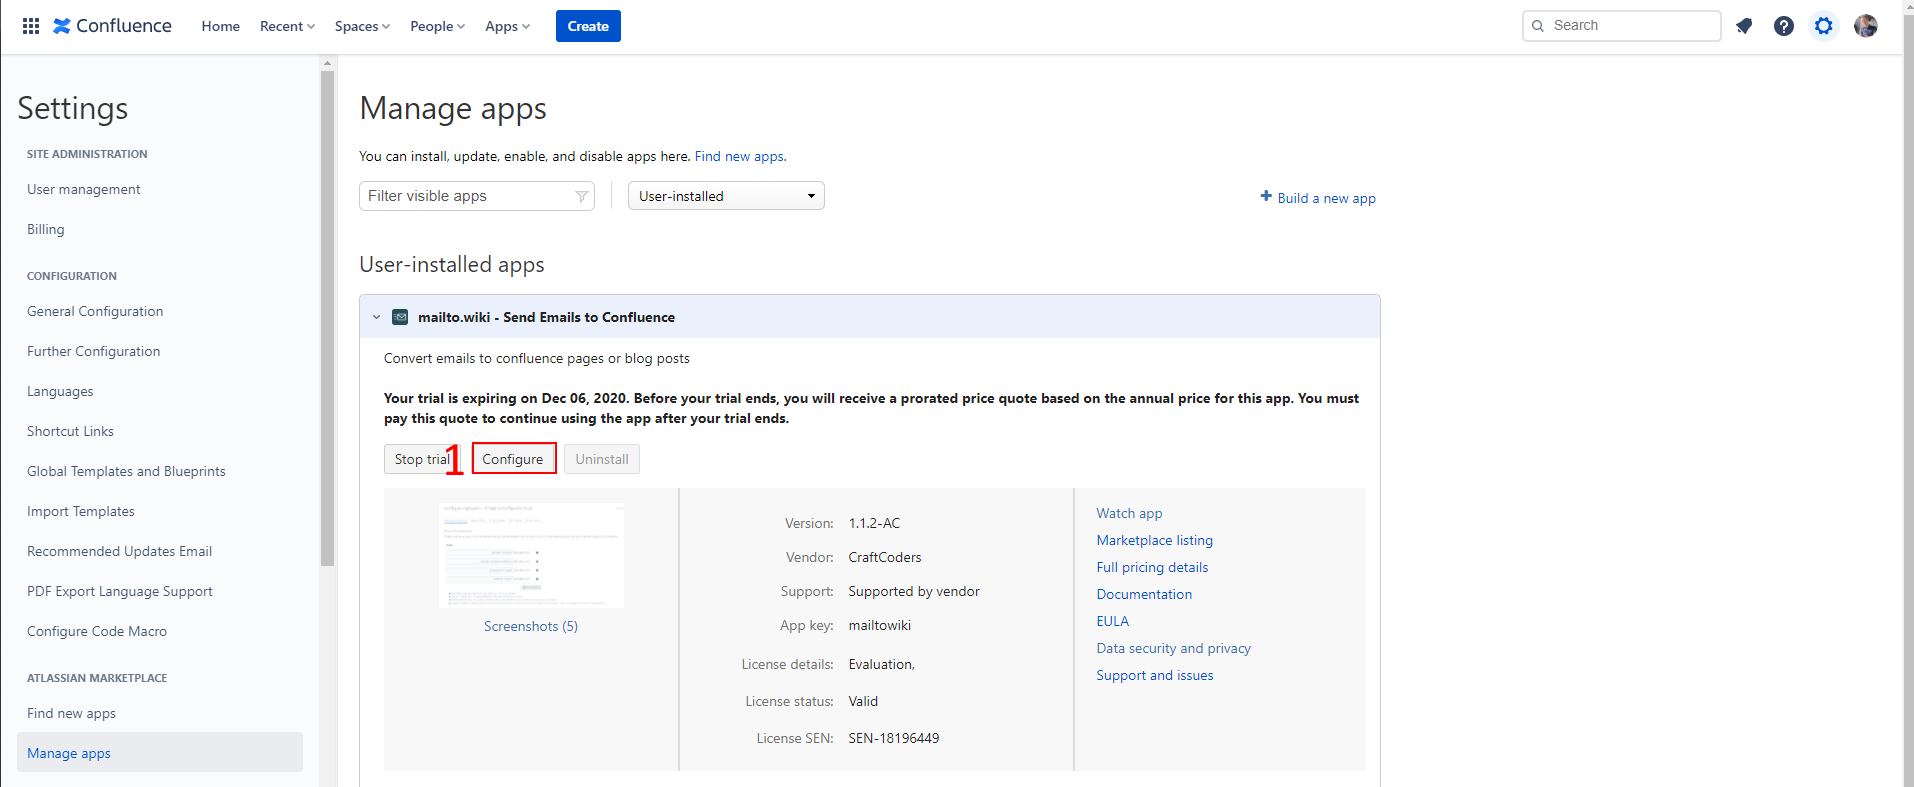
This will take you to an overview page that shows all of your currently installed add-ons. Find the mailto.wiki – Email for Confluence add-on and expand the section by clicking on the title. Then click on the Configure button to go to the configuration page for the add-on.
Step 2 – Register an email address
You should now see the configuration page for the add-on.
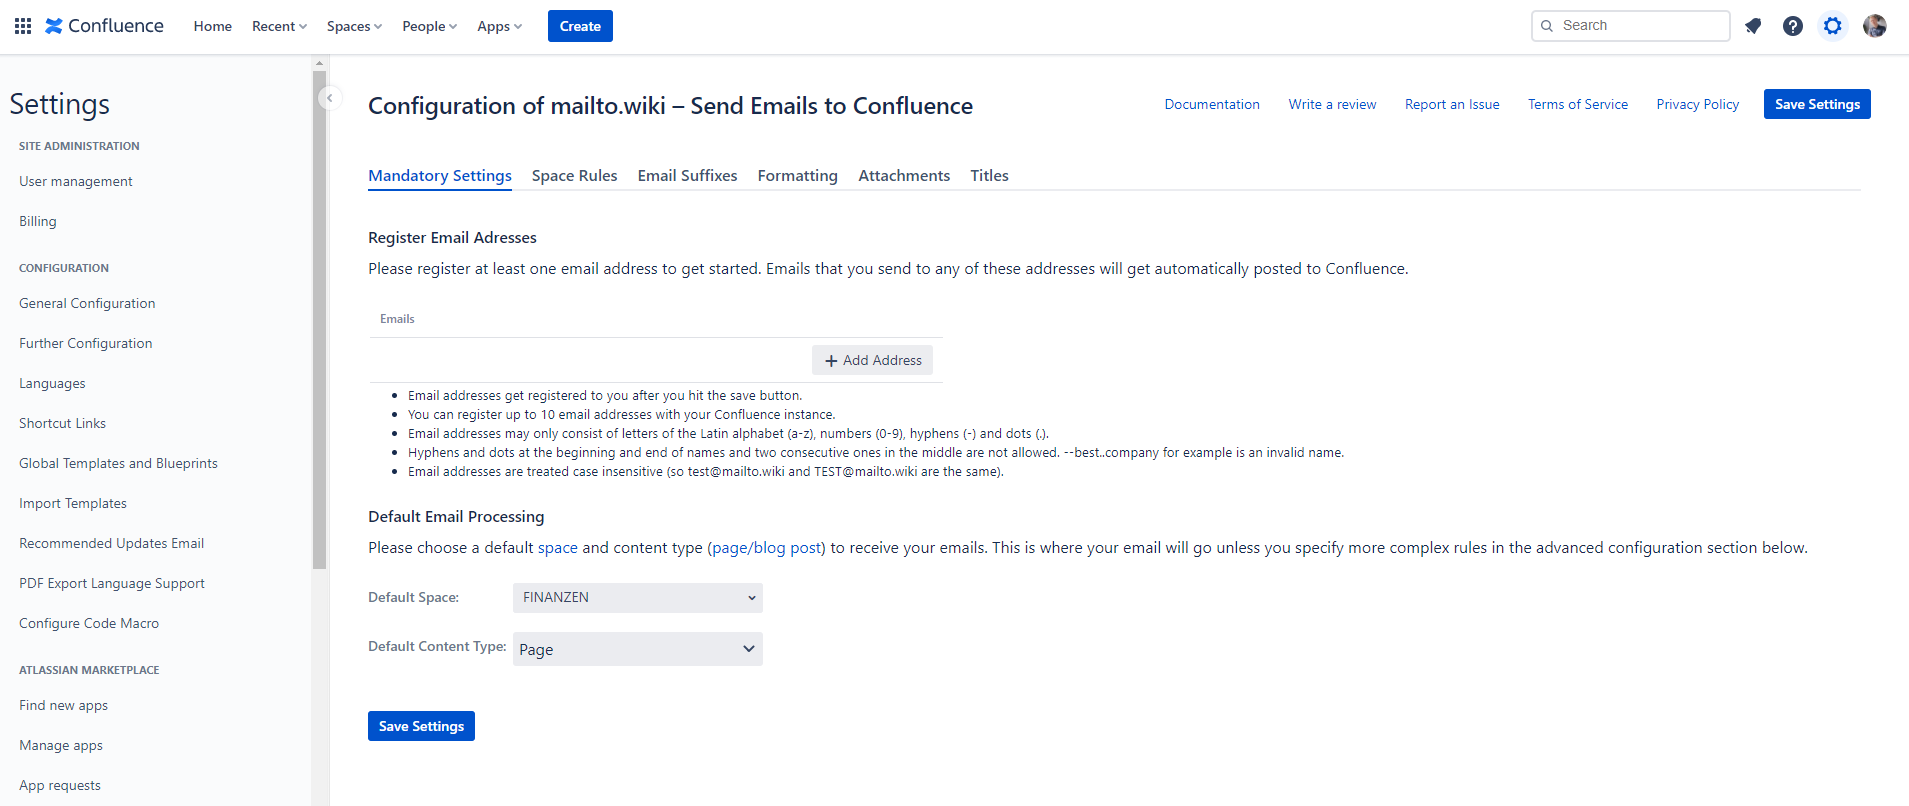
Before you can send your first email, you will have to do three things: register an email address, set the default space and the default content type.
Every email that you send to one of your registered emails will be automatically inserted into your default space as a page or blog post, depending on what you configured as the default content type. You can think of the default space as your INBOX.
To register an email address, click on the + Add Address Button.
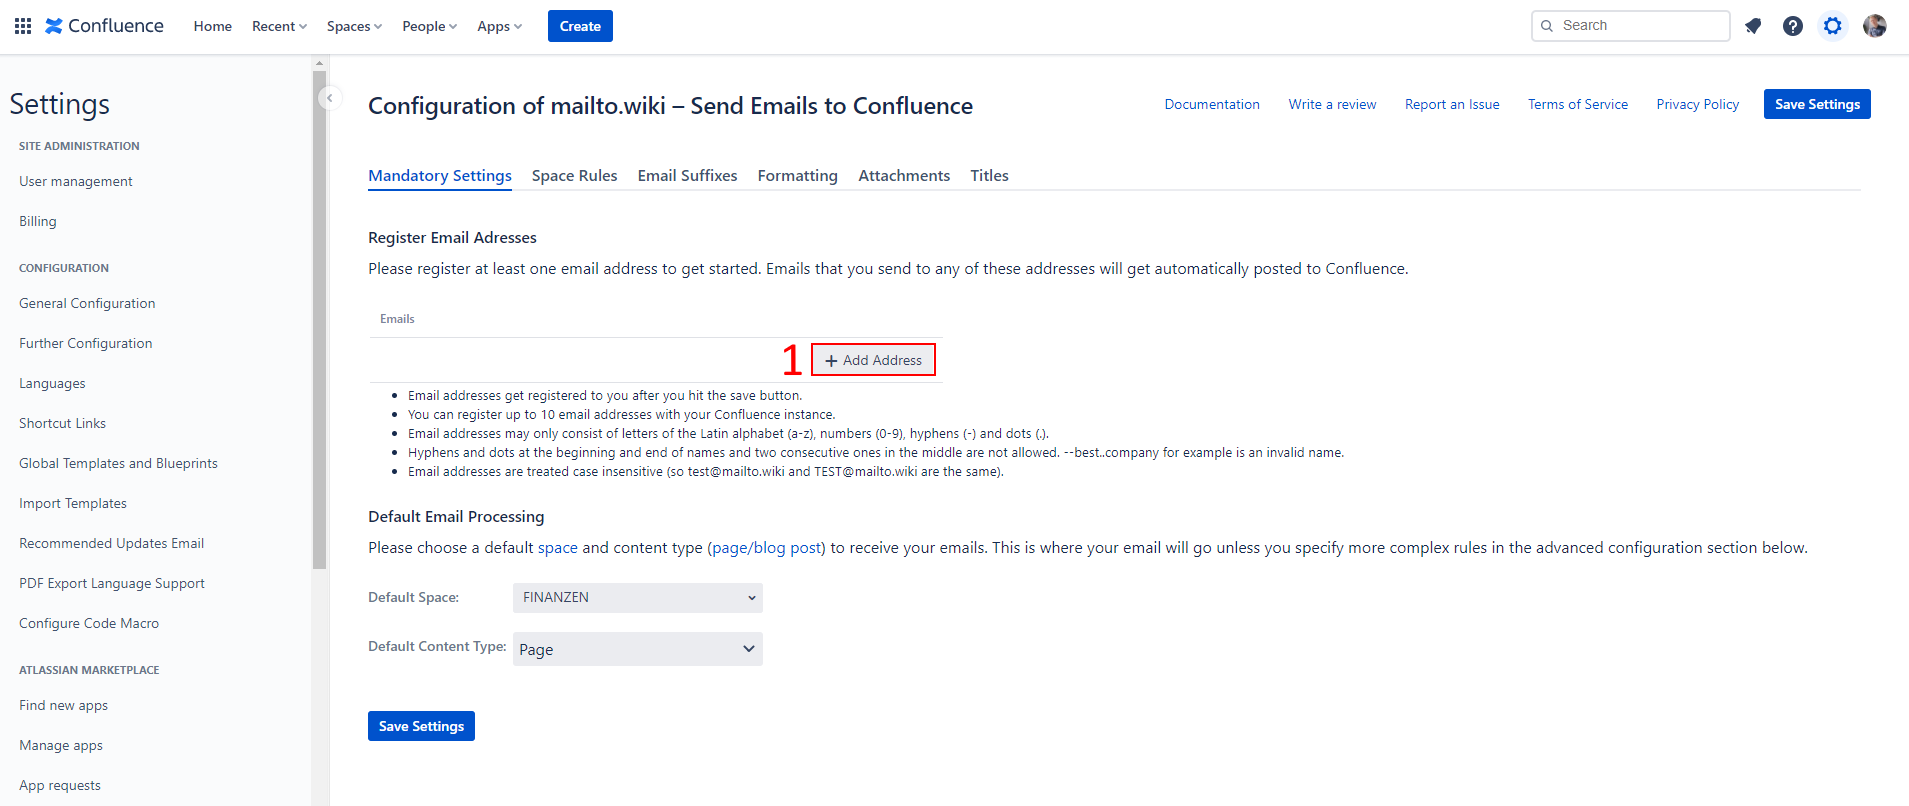
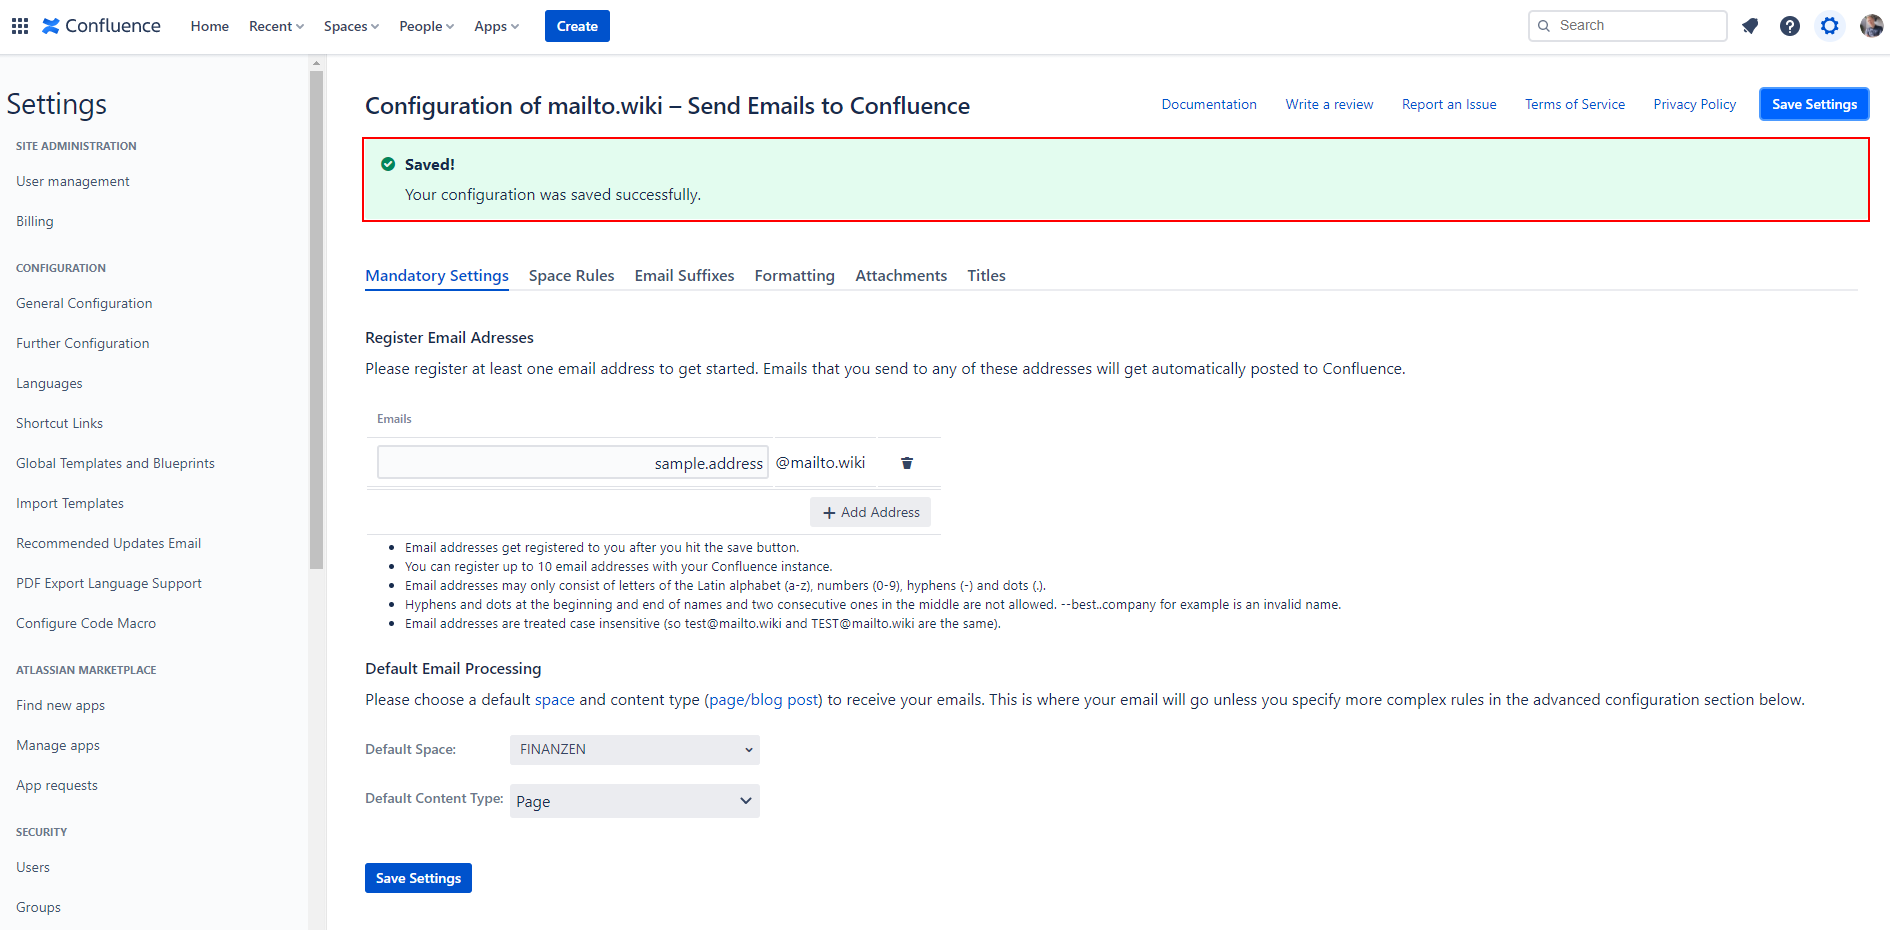
A text field will appear. Type in a name for your email address. Once you have decided on a name, click on one of the Save Settings buttons. After a short moment, you will receive feedback on whether the email address was registered successfully or not.

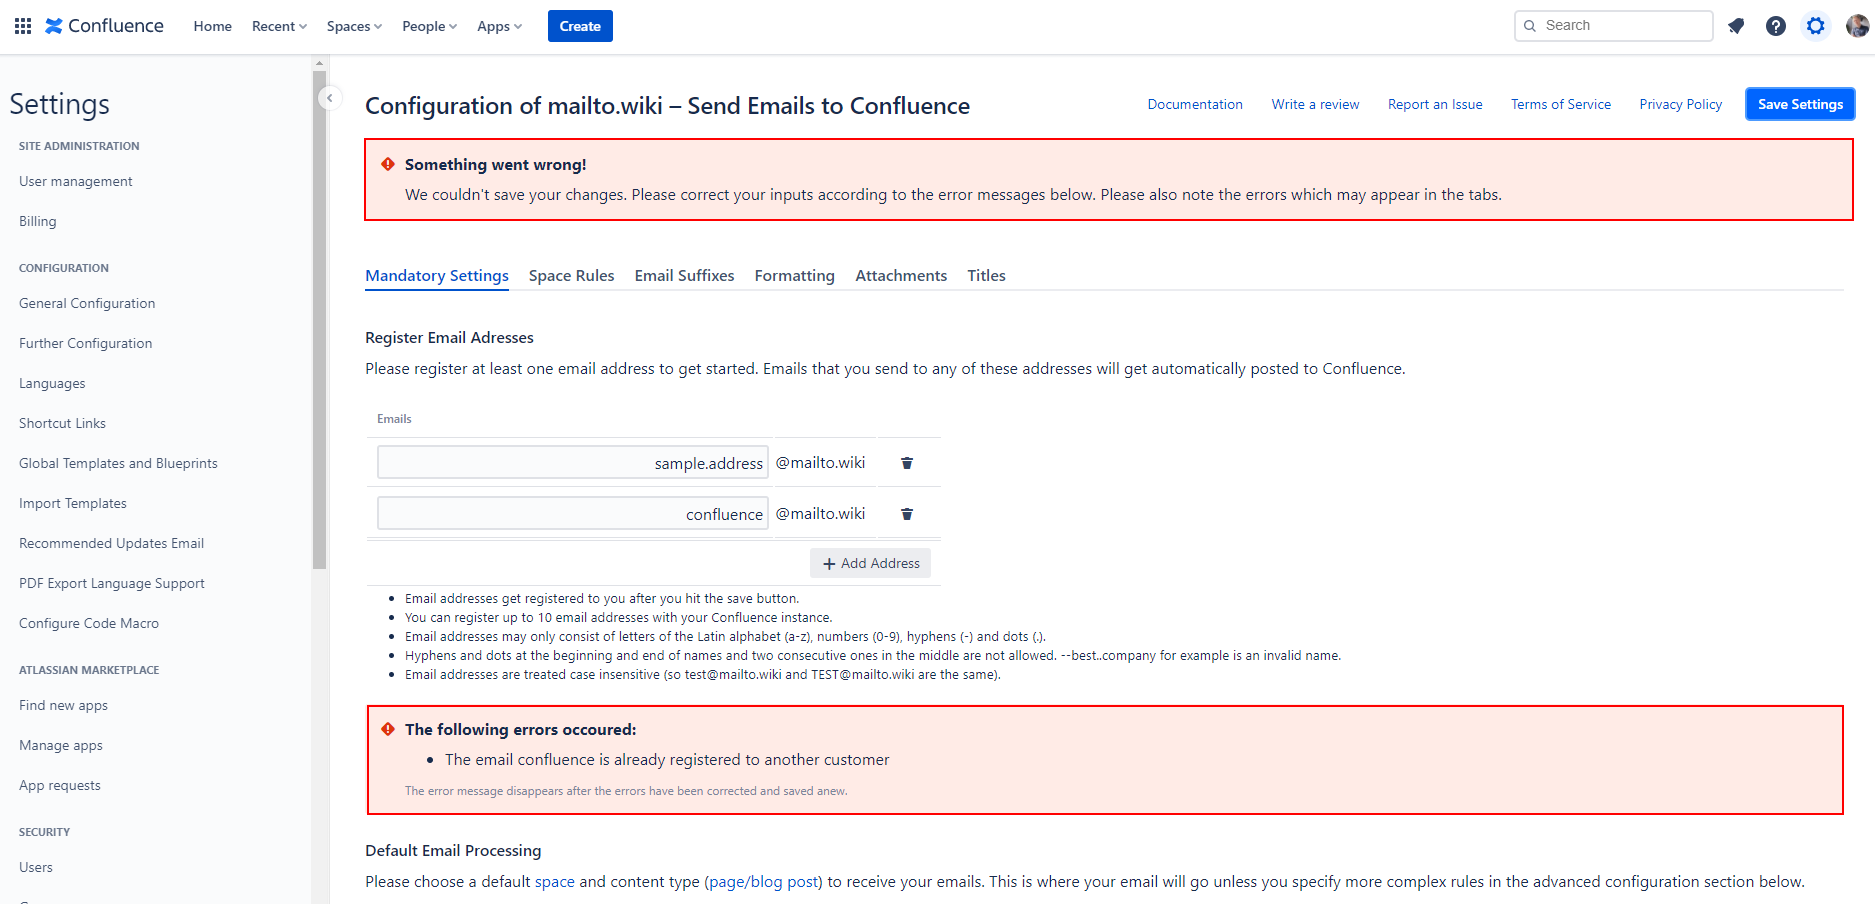
In case of errors, a meaningful error message, like “email address confluence@mailto.wiki is already registered to another customer” should appear. Correct the errors and try again by clicking on one of the Save Settings buttons.
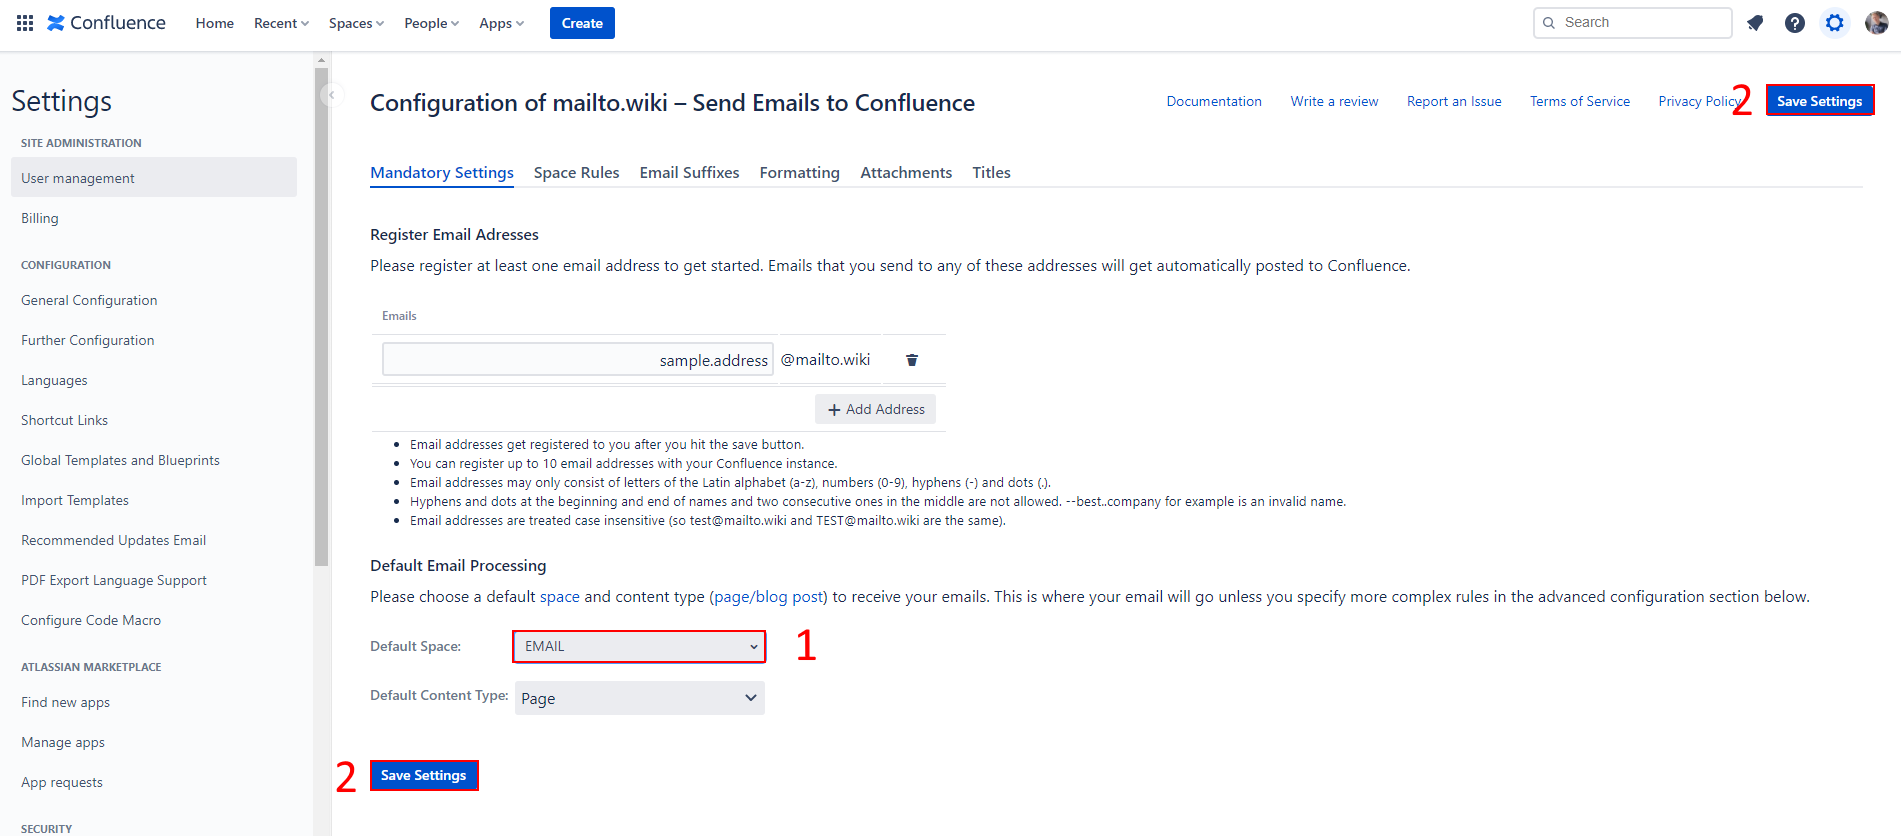
After you have registered at least one email address successfully, you can use Email for Confluence. As already mentioned, the incoming emails get inserted in the default space. Since the default space is set automatically during installation, make sure to change it to a space of your choice.
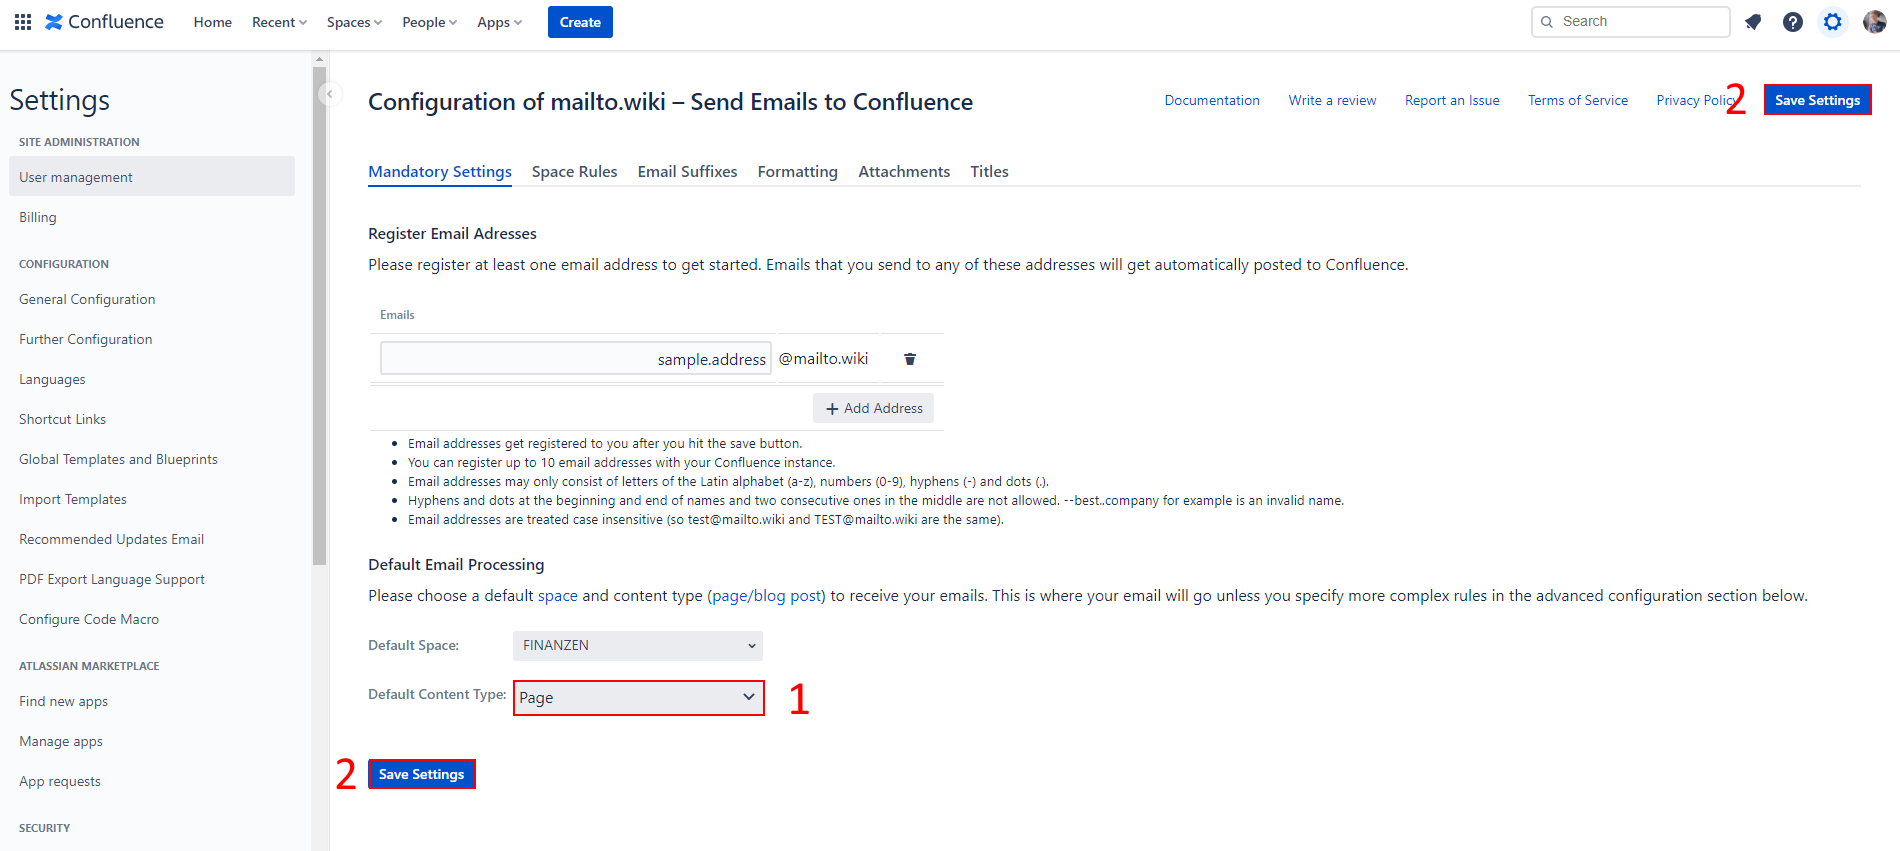
Finally, you need to select a default content type. Confluence has two types of content: Pages and blog posts. Choose whatever fits your needs best.
Step 3 – Send your first email
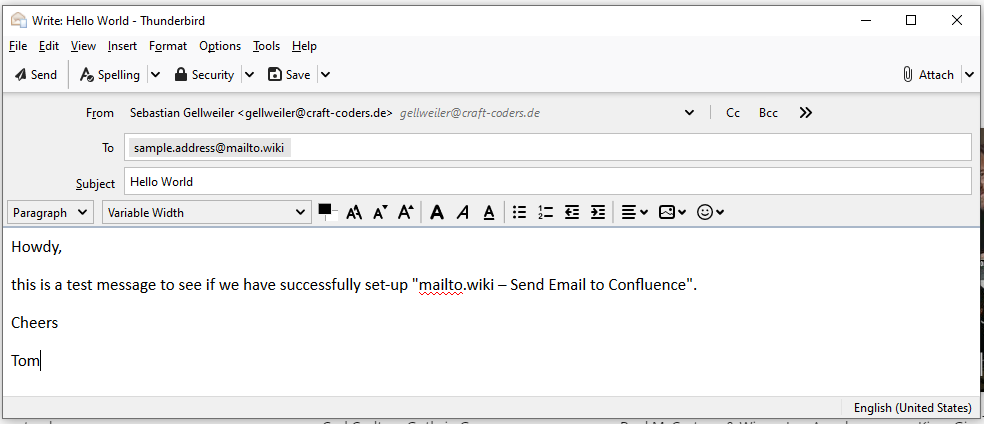
You are now ready to send your first email to Confluence. Open your email program or log into your web-mail provider. Then write an email to the email address you registered above.
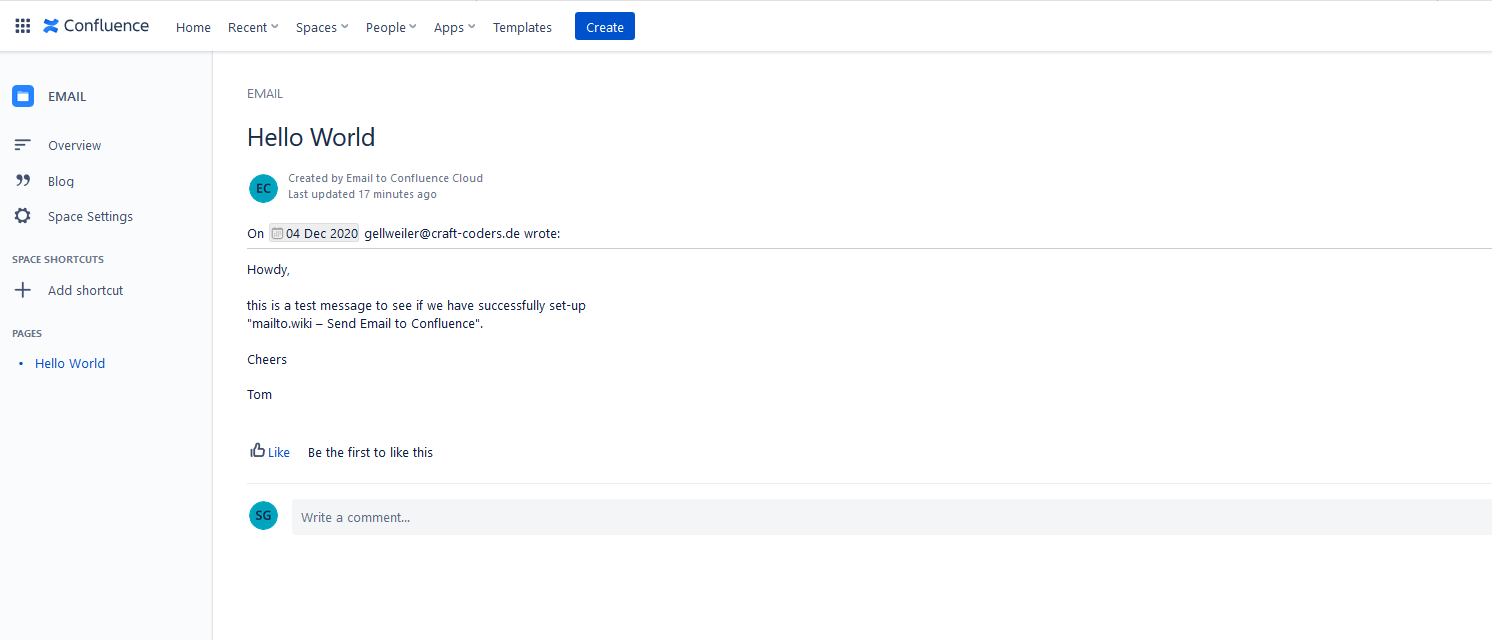
After sending your email, wait 5 minutes to give the system time to process your message, and go to the default space you configured above. If you configured everything correctly, the message will appear in the default space as a page or blog post depending on your settings for the default content type.
Conclusion
You are now ready to use Email for Confluence. Try it out, and if errors occur or something does not work as expected, don’t hesitate to contact us via our Help Desk or by sending an email to support@mailto.wiki. If you want more control over where emails go, you can use Space Rules.